In all of the occurrences that we have observed in the recent times, majority of them are office for Mac excel issues where a user encounters problem with his/her Excel for Office for Mac 2011 that could be either for workbooks or worksheets (it depends) and then the particular document gets printed in grey (grayscale actually) not in black. This generally happens for and the reason behind this could be those users who enable the “Black & White” setting by going under page setup/sheet.

Doing this the documented page will now be printed in Black though the color column heading will be lost. Likewise for adding more information to this issue and if you are thinking that this could be the printer problem then we should tell you that you are wrong since it’s not a printer problem as all the other applications prints correctly.
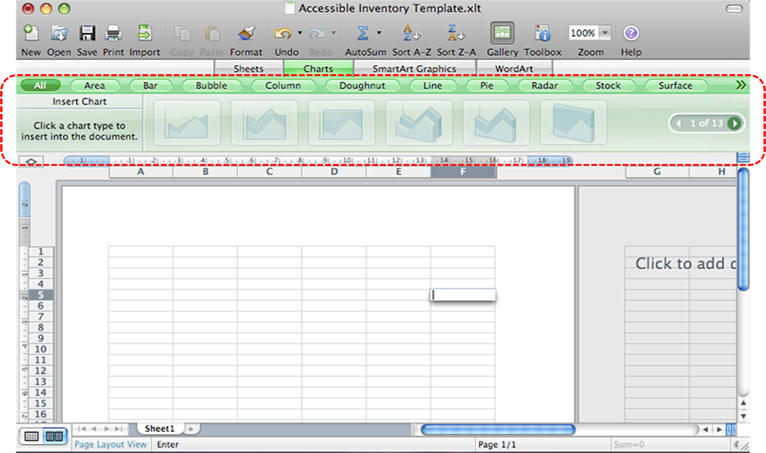
Now coming to an suitable explanation or a proper way out try performing these operations
First look for color button on your Excel that could be either on Standard or Format bar
- On files with grey letters try locating the select all button
- Click on workbook/spreadsheet then make a click on pointing arrow (downward one) known as Flippy next to the A with red line.
- A pop-up will come that will let you change the color
- Select the one that states Automatic or No color
- Change all Numbers, Text and else to Black
- Now save file
In case the above settings didn’t work, carry out this
For permissions need repairing
- Select applications in documents
- Locating utilities folder, open it
- Search for disk utilities
- Execute repair permissions (Don’t waste your time in verifying, it must verify anyway)
- Once done check one of those files to see if the color changes
If this also doesn’t work; go to font book (under application folder)
- First open font book
- Tick all fonts from the far left window
- Tick one to select
- Now hold down * key along with the A key (select all)
- Choose validate fonts by making a click on file menu
Other than this have a look at some common settings
- Go to File –> Page Setup –> Page make sure that the print quality is set to high
- File –> Page Setup –> Sheet verify that “Black & White” option is not ticked since else the printer could “formulate” the Black ink with any color which in response can result as murky effect
- File –> Page Setup –> Sheet validate that Draft quality is not selected
- Format –> Cells –> Font Normal font shouldn’t be selected
- Office for Mac 2011 should be updated properly